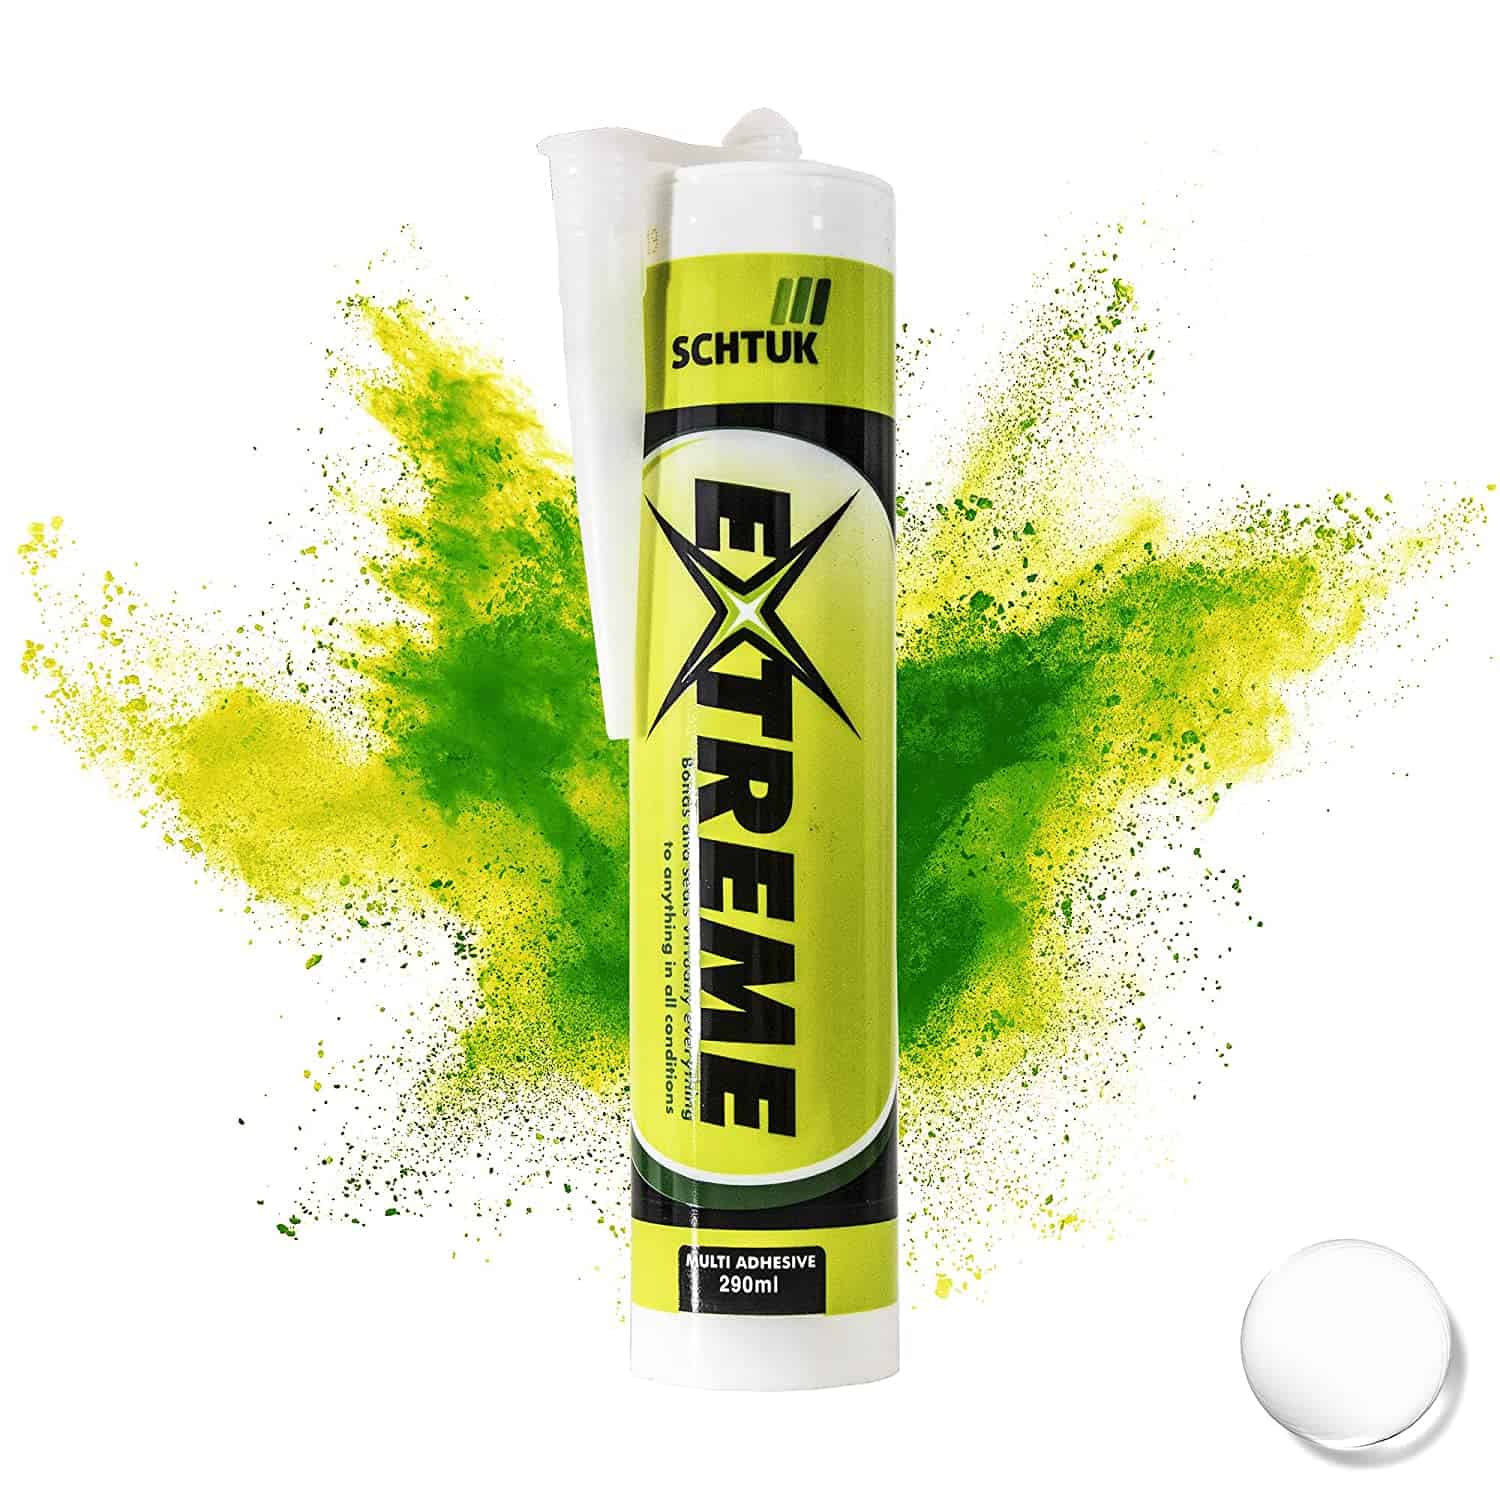
Schtuk Extreme Adhesive & Sealant
Schtuk Extreme is based on an Co–Polymer material – this multi–purpose adhesive/sealant has to be the most versatile product for years. It can be used as a sealant or take the place of a wall panel type adhesive. It is a one part, chemically curing solvent free sealant and adhesive combing the best qualities of a silicone and polyuretahane technologies. It is specifically designed for adhering most common building surfaces to each other and themselves.
Key benefits:
- Incredible initial grab, no slip and gap filling properties
- High bonding strength
- Interior and exterior use
- Can be applied to wet surfaces
- Totally waterproof & weatherproof
- Quick curing
- Overpaintable if required
- Solvent free
- Resistant to temperature extremes –40°c to 150°c
- Permanently flexible
- Resistant to chemicals and petrol (10% dilute acids/alkalis, most solvents)
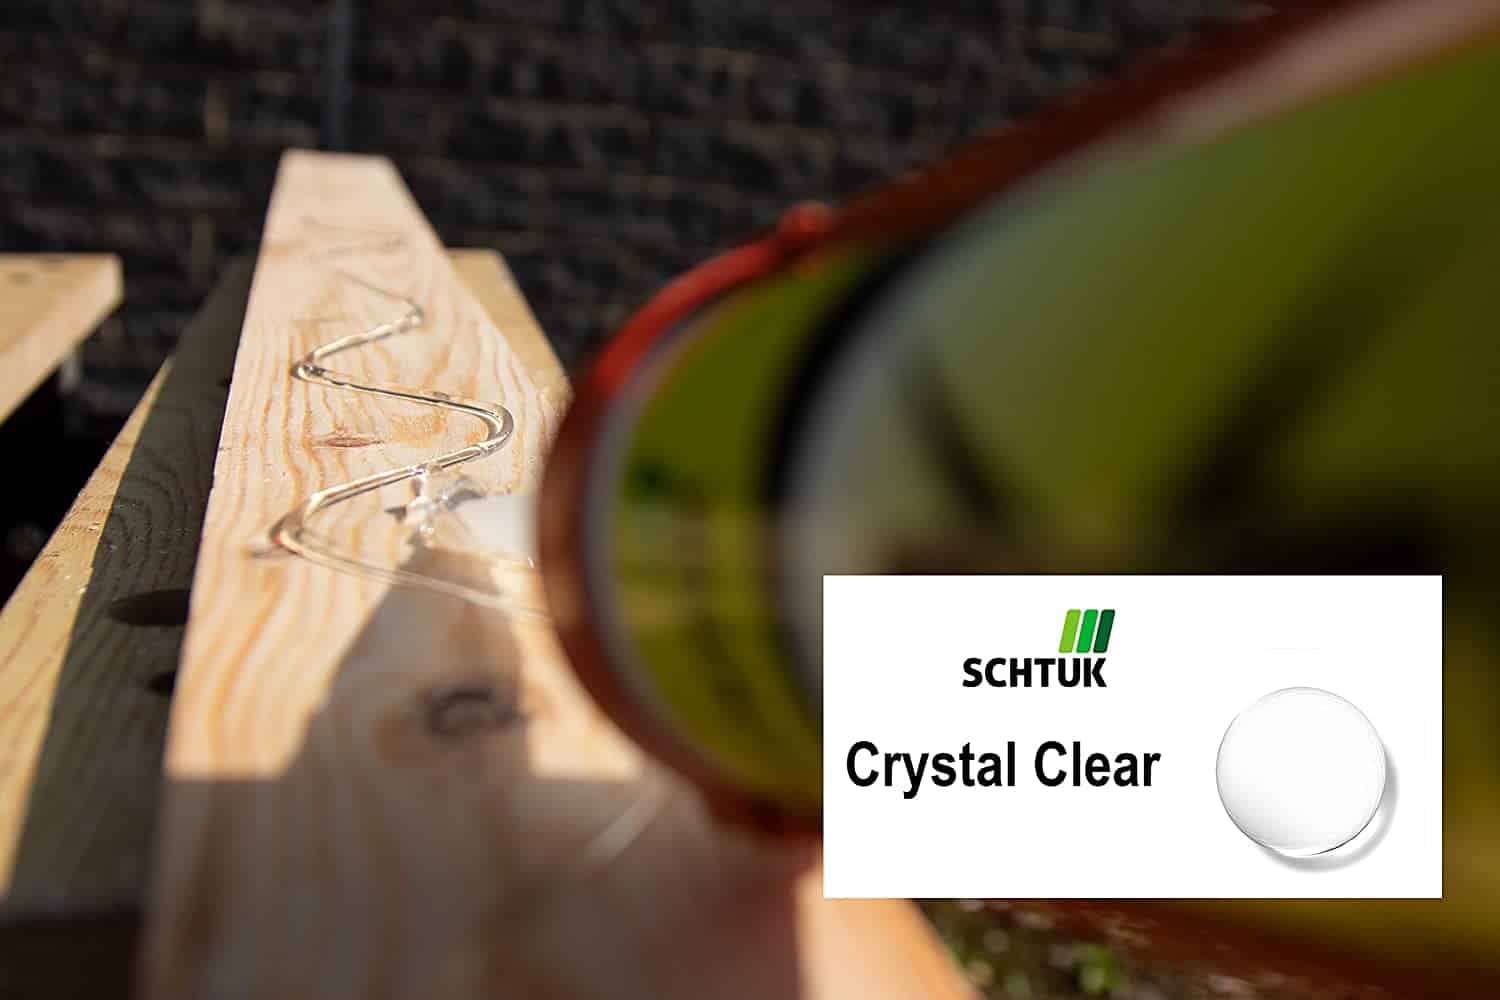
- Excellent primer less adhesion to most surfaces, including metals, most plastics, glass, concrete, plaster, plasterboard, polyester, perspex, glass, wood, enamel, painted surfaces etc.
Application
Cut the tip of the cartridge taking care not to damage the thread. Fix nozzle, cut aperture to required width and apply with a standard sealant gun.
As a nail replacement (panel) adhesive
- Surfaces must be sound, clean, dry and free from dust, grease, loose material etc
- Prime dusty surfaces with PVA diluted 1:4 with water and allow to dry.
- Apply using a standard sealant gun, cut tip of cartridge, apply nozzle and cut an opening to suite the required bead size.
- For bonding heavy items (Plasterboard/worktops/wall panels etc) apply adhesive all the way around the edge of the item (30-50mm from edge) and cover back with beads of adhesive at 300mm intervals. Alternatively, apply adhesive direct to battens and press into place. NOTE – With heavy items, always provide temporary support until the adhesive dries.
- For bonding lightweight items (covings, dado rails, skirting etc) apply adhesive to back of item in one or two continuous beads and press immediately into place.
- Where gap filling is required, mark the areas where there is a large gap and apply a thicker bead to these areas.
- In all cases, clean up excess adhesive immediately with a cloth/white spirits
As a sealant
Reference should be made to the recommended joint ratios. If necessary reduce joint depth using Expanding Foam, or Joint backer rod. Furthermore, ensure that the joint design only permits adhesion to two surfaces, as three sided adhesion will impair flexibility. Where the sealant is used in a joint configuration, masking tape should be used to prevent contamination of adjacent substrates, and ensure a neat sealing line. Masking tape should be removed immediately after tooling. The joint should be tooled within 5 minutes of application to ensure good contact between the sealant and the substrate. Tooling of the sealant also gives a smooth, professional finish.
Fixing Mirrors
Apply 6mm diameter beads of sealant direct to back of mirror in vertical strips, spaced at 30-40mm centers. Immediately place mirror in position and secure with good, even pressure with a slight twist action. Provide temporary support (tape) until adhesive has dried (24-48 hours). If required, FABULOUS FIX may also be used to seal around mirror 24 hours after fixing (to allow for cure) Uncured material can be removed by wiping with a dampened cloth with white spirit. Cured material can be carefully removed by mechanical means. Full cure must be allowed before over painting.